Partners: Connecting your users account
Connecting your users' accounts
In this first step of the partner integration guide, we’ll take you through securely gaining access to your users’ GoCardless accounts.
You’ll end up with an access token, which we’ll be able to use later on in this guide to set up mandates and payments on your user’s behalf.
OAuth: an introduction
Mandatory You must connect your users' accounts via our OAuth 2 flow
To set up mandates and payments for your users, you’ll need access to their GoCardless account so you can make API requests on their behalf.
Our OAuth flow allows you to securely obtain an access token for a GoCardless account without having to have your user’s password or do any manual setup.
There are four key benefits to getting access to your users’ accounts using OAuth:
It’s secure: Your users have a secure way to grant you access to their account without needing to send you their login credentials or an access token. They only need to tell us that you may have access through a simple online process.
It’s fast: You only need to generate and send your user a link to our OAuth flow. From there, they’ll create a GoCardless account or sign in to their existing one, approve your access to their account, and then we’ll send them right back to you with an access token.
It’s lucrative: Linking to your users’ accounts using OAuth makes you eligible to earn a commission for each payment they process through your product, either by adding your own fees on top of GoCardless’s or by receiving a share of GoCardless’s fees
It’s future-proof: As the GoCardless API gets better and better over time and offers new functionality, you’ll be able to stay up-to-date and use all the latest features
Using the OAuth flow
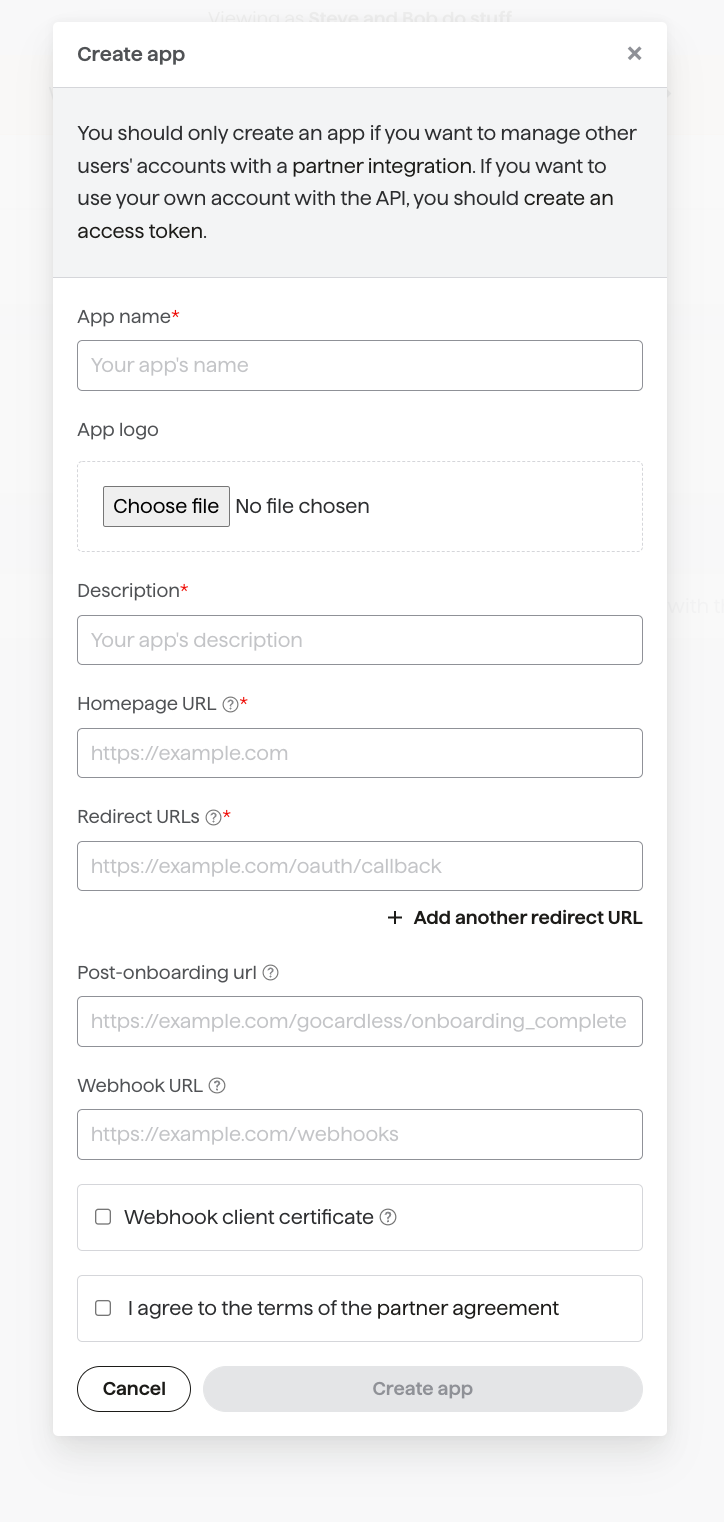
Before we can get started, you need to create an “app” in the sandbox environment which represents your partner's integration in the GoCardless system. You’ll be issued with a client ID and secret, which you’ll use to identify yourself when sending users to the OAuth flow and swapping code
s for access tokens.
First, sign up for a GoCardless account in our sandbox testing environment and then create an app.
You’ll need to provide a name, a description and the URL of your homepage (where users can go to read more about your product or your integration with GoCardless). We won’t specify the post-onboarding URL or webhook URL for now.
Once your user has completed the OAuth flow, they will be redirected to your application using the redirect_url
parameter you provide. For security reasons, this can’t be just any internet URL, so you will need to configure at least one redirect URL here (which must exactly match the parameter). You may wish to add additional redirect URLs, for example when also testing against your local application, but we’ll only allow up to 20 redirect URLs in total.
Once you’ve created an app, you’ll see it in the list of your apps in your Dashboard. Click on your newly-created app, and take a note of the Client ID and Client Secret.
Let’s get started by installing an OAuth client library:
composer require adoy/oauth2
Now we’ve installed the library, we can build a link to the OAuth flow. We’ll have to pass in a number of parameters, including the client_id
and client_secret
, as well as a few parameters that will vary by library. These can include:
The URL of the GoCardless OAuth flow | In the sandbox, this is https://connect-sandbox.gocardless.com/oauth/authorize. It'll form the base of the URL your client library generates. |
A redirect URL | The URL to send your users to once they've agreed to connect their account to GoCardless (as well if they deny authorisation or something goes wrong, in which case we'll pass you details of the error). This must exactly match one of the redirect URLs you specified above. |
The URL of the GoCardless access token API | The URL of the API endpoint will be used to exchange the code for an access token after your user has been redirected back to your redirect URL. In the sandbox environment, this is https://connect-sandbox.gocardless.com/oauth/access_token. |
scope | The level of access you want to your users' GoCardless accounts - this may either be |
response_type | The kind of OAuth request you’re making - only |
initial_view (optional) | An optional parameter, set to either |
state (optional) | Any value you pass in here will be included as a query string parameter when we redirect back to your redirect URL. Please note that this value can be tampered with by your user, and so shouldn't be trusted implicitly. We recommend using this parameter for a CSRF Token. |
prefill[email] (optional) | Your user's email address. We will prefill this on the login or signup forms to make it quicker and easier for them to complete the flow. |
prefill[phone_number] (optional) | Your user's phone number. We will pref-fill this on the signup forms. Number should be in this E.164 format i.e. it should include the country code and the rest of the number e.g. +447599288282 |
prefill[given_name] (optional) | Your user's given (first) name. We will prefill this on the signup form. |
prefill[family_name] (optional) | Your user's family (last) name. We will prefill this on the signup form. |
prefill[organisation_name] (optional) | The name of the user's organisation (e.g. Acme Widget plc, 2nd Upminster Scout Group or Tim Rogers). We will prefill this on the signup form. |
prefill[creditor_type] (optional) | The organisation's business type. This should be one of:
|
prefill[country_code] (optional) | The country code of the users' organisation in ISO 3166-1 alpha-2 code format. We will prefill this on the signup form. |
language (optional) | The language that the login/signup form should be in, is ISO 639-1 format. If the language specified is supported, we will use it. Otherwise, we will fall back to the most appropriate available language for the user, based on factors like their browser settings and location. |
1<?php
2require 'vendor/autoload.php';
3
4// You should store your client ID and secret in environment variables rather than
5// committing them with your code
6$client = new OAuth2\Client(getenv('GOCARDLESS_CLIENT_ID'), getenv('GOCARDLESS_CLIENT_SECRET'));
7
8$authorizeUrl = $client->getAuthenticationUrl(
9 // Once you go live, this should be set to https://connect.gocardless.com. You'll also
10 // need to create a live app and update your client ID and secret.
11 'https://connect-sandbox.gocardless.com/oauth/authorize',
12 'https://acme.enterprises/redirect', // Your redirect URL
13 ['scope' => 'read_write',
14 'initial_view' => 'login',
15 'prefill' => ['email' => 'tim@gocardless.com',
16 'given_name' => 'Tim',
17 'family_name' => 'Rogers',
18 'organisation_name' => 'Tim\'s Fishing Store']]
19);
20
21// You'll now want to direct your user to the URL - you could redirect them or display it
22// as a link on the page
23header("Location: " . $authorizeUrl);
With these parameters set correctly, the resulting URL will have the following format:
https://connect-sandbox.gocardless.com/oauth/authorize?client_id=myid&initial_view=signup&prefill%5Bemail%5D=tim%40gocardless.com&redirect_uri=https%3A%2F%2Facme.enterprises%2Fredirect&response_type=code&scope=read_only
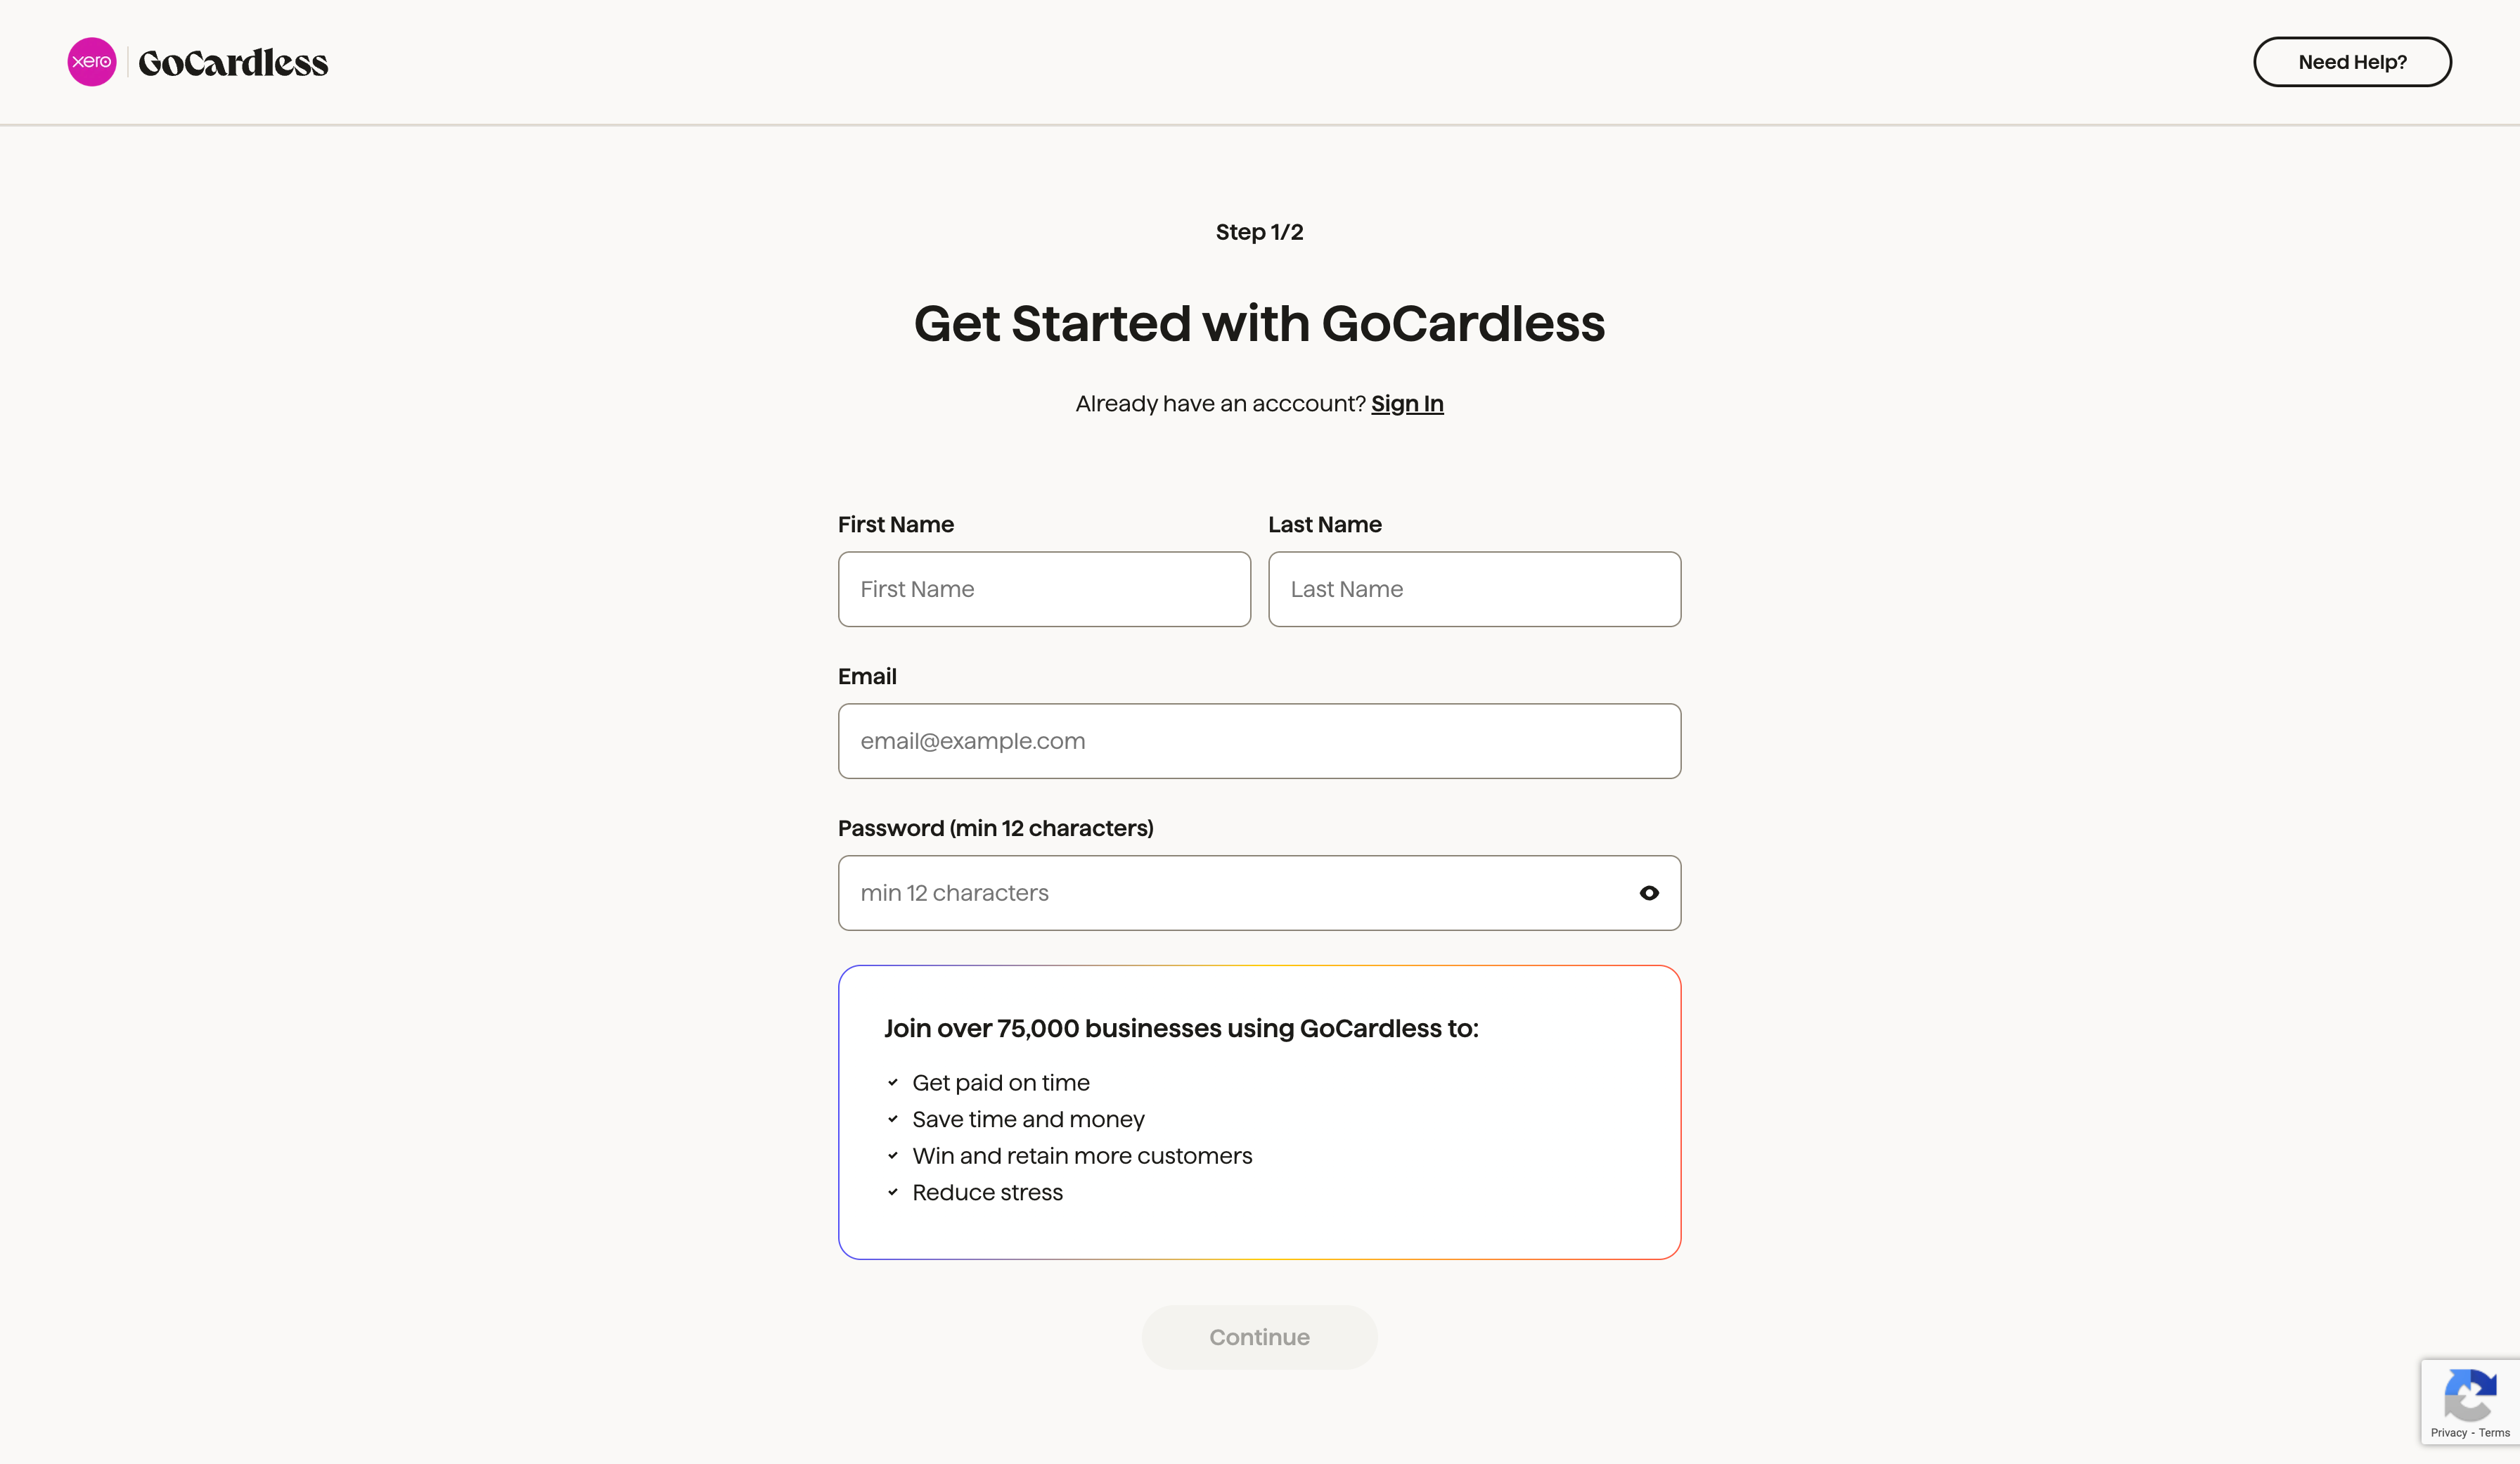
Run this code to generate a link to the OAuth flow. Head over to the link you’ve just generated in an Incognito window, and you’ll see our OAuth flow.
Testing: On the signup form, we recommend creating a second sandbox account using a different email address. This will replicate what your users will experience when connecting to your partner integration, and will give you an example account that you can use from the perspective of one of your users.
Once your user has either signed up or logged in and then approved your app’s access to their account, they’ll be sent to your app’s redirect URI with a temporary code
which you’ll see in the query parameters, as well as any state
you provided.
You should use the OAuth client library we set up earlier to fetch an access token using the code
. This is a permanent access token that allows you to use the API on behalf of your merchant at any time.
1<?php
2require 'vendor/autoload.php';
3
4$client = new OAuth2\Client(getenv('GOCARDLESS_CLIENT_ID'),
5 getenv('GOCARDLESS_CLIENT_SECRET'));
6
7// You'll need to use exactly the same redirect URI as in the last step
8$response = $client->getAccessToken(
9 'https://connect-sandbox.gocardless.com/oauth/access_token',
10 'authorization_code',
11 ['code' => $_GET['code'], 'redirect_uri' => 'https://acme.enterprises/redirect']
12);
13
14$payload = ['gocardless_access_token' => $response['result']['access_token'],
15 'gocardless_organisation_id' => $response['result']['organisation_id']];
16
17$currentUser->update($payload);
Whether you are developing a mobile, web, or desktop application, it is important not to pass the client secret to your user’s device as it could be used to impersonate your app. The process of exchanging a code
for an access token should be done on your server so your client secret can be kept private.
You’ll want to store this access token in your database for use in the future to make requests to the GoCardless API on your user’s behalf. Make sure you keep it safe and secure, as it gives full access to your user’s account.
Revoking access
Once your user has connected to your app, they can revoke your access from the GoCardless dashboard, or you can revoke (i.e. invalidate) their access token yourself using the API.
We’d also strongly advise storing your user’s GoCardless organisation ID. Later on, we’ll set up webhooks to keep your integration up to date as things happen to your users’ mandates and payments. You’ll need to use the organisation ID included in these webhooks to work out which of your users a particular event relates to.
If you didn't store the user's GoCardless organisation ID and want it later, you can find it out by looking up the access token using the API.
If the redirect URL isn’t the page where you ultimately want your user to arrive, you can redirect them from here to the right place, either before or after exchanging the code for an access token.
Once you’ve stored your merchant’s access token, we’d suggest presenting your customers with any relevant configuration options for the integration (e.g. setting how failed payments should be handled).
We’d also recommend providing in-product tips or links to support materials and letting customers know that they’ll need to verify their account in order to receive payouts (they’ll also receive emails from us reminding them to do this).
Adding to your onboarding experience
To get the best out of your integration, we’d suggest adding it to your onboarding experience and prompting merchants to set up with GoCardless at key points in their product journey (e.g. setting up an invoice, creating a customer, signing a contract etc.). From this process, you'd then send them into the OAuth flow. Take a look at some of our recommendations for bringing your integration to your users' attention here.
As a partner, you may be disconnected from a merchant for two reasons:
The merchant can revoke your access
The merchant’s GoCardless account can be closed.
If you need to clean up any data on your side, we will send you a special, final webhook when this happens. Since the shared access token will have been revoked, you will be unable to make any further API calls to GoCardless, so we suggest you reach out to the user directly if you think this has happened in error.
This webhook is designed to look similar to other webhooks, i.e. it is wrapped in the events
key. However, there is no associated event, so the event id
is null
. It also means you cannot immediately run a GET for the organisation details (as recommended for other webhook types), as the shared access token has been revoked.
You can identify this event as it has resource_type organisations
and action disconnected
.
As an example, we’ll write a handler for this ‘special’ webhook:
1<?php
2function process_organisation_event($event)
3{
4 switch ($event->action) {
5 case "disconnected":
6 print("Organisation " . $event->links->organisation . " has been disconnected!\n");
7 MarkOrganisationAsDisconnected($event->links->organisation);
8 break;
9 default:
10 print("Don't know how to process an organisation " . $event->action . " event\n");
11 break;
12 }
13}
14
15$webhook_endpoint_secret = getenv("GOCARDLESS_WEBHOOK_ENDPOINT_SECRET");
16$request_body = file_get_contents('php://input');
17
18$headers = getallheaders();
19$signature_header = $headers["Webhook-Signature"];
20
21try {
22 $events = \GoCardlessPro\Webhook::parse($request_body,
23 $signature_header,
24 $webhook_endpoint_secret);
25
26 foreach ($events as $event) {
27 print("Processing event " . $event->id . "\n");
28
29 switch ($event->resource_type) {
30 case "organisations":
31 process_organisation_event($event);
32 break;
33 default:
34 print("Don't know how to process an event with resource_type " . $event->resource_type . "\n");
35 break;
36 }
37 }
38
39 header("HTTP/1.1 200 OK");
40} catch(\GoCardlessPro\Core\Exception\InvalidSignatureException $e) {
41 header("HTTP/1.1 498 Invalid Token");
42}