Billing Requests: Direct Debit Mandates
Collect Mandates
What is a Direct Debit Mandate?
Before you can collect any payments by Direct Debit, your customer must issue you with a mandate. This mandate is called a "Direct Debit Instruction", or "Direct Debit Mandate". Please note, that without a mandate, your bank cannot authorise the Direct Debit Instruction which allows your customers to collect future payments automatically. See more information about Direct Debit mandates within our resource guides."
Goal - Create a Direct Debit mandate using Billing Request
Engineering complexity - Easy
Time taken - 15 minutes
This guide shows how to create a Direct Debit mandate with Billing Requests, sending the customer through a GoCardless hosted Billing Request Flow to fulfil the request.
Also, please be aware that if you submit the verify
setting, payers may be asked to verify themselves if GoCardless deems them risky or if scheme compliance requires it. Read more about using verified mandates here.
Creating a Billing Request
Create a Billing Request that specifies the type of mandate you wish to create via the mandate_request
field.
Mandates are created against a payment scheme. Most integrators will only care about the currency that the mandate enables charging. We recommend specifying a currency
and omitting the scheme
, allowing GoCardless to pick the best scheme for that currency.
Most integrators will use Billing Requests to create a mandate alongside a new customer, so we’ll use that as our example. If you want to create a mandate against an existing customer, just specify the customer ID in links.customer
.
Use the Create a Billing Request endpoint
1$client = new \GoCardlessPro\Client(array(
2 'access_token' => 'your_access_token_here',
3 'environment' => \GoCardlessPro\Environment::SANDBOX
4));
5
6$client->billingRequests()->create([
7 "params" => [
8 "mandate_request" => [
9 "scheme" => "bacs"
10 ]
11 ]
12]);
You’ll receive a full Billing Request, including things like actions
and resources
.
It will look like this, some detail omitted:
{
"billing_requests": {
"id": "BRQ123",
"status": "pending",
"payment_request": null,
"mandate_request": {
"currency": "GBP",
"scheme": "bacs"
},
"links": {
"customer": "CU00016WDAM7BS",
"customer_billing_detail": "CBD000010PDF4WD",
"mandate_request": "MRQ123",
"organisation": "OR123"
},
"actions": [
{
"type": "collect_customer_details",
"status": "pending",
},
{
"type": "collect_bank_account",
"status": "pending"
}
]
}
}
The Billing Request is currently pending, meaning we need to complete the outstanding actions before it can be fulfilled. We can use Billing Request Flows to generate a checkout flow that guides the payer through these actions.
Integrators building custom payment pages should read the Billing Request actions to understand what actions are available, and how to complete them.
If you complete actions yourself, you can resume this guide to have Billing Request Flows complete whatever remains.
Goal - Create a Billing Request Flow that can be used for your customer to authorise payments
Engineering complexity - Easy
Time taken - 15 minutes
Billing Request Flows can be created against Billing Requests, and provide an entry into a hosted GoCardless flow that completes whatever actions remain against the request.
Create a Billing Request Flow to retrieve a link that can be provided to your customer to complete the request:
1$client = new \GoCardlessPro\Client(array(
2 'access_token' => 'your_access_token_here',
3 'environment' => \GoCardlessPro\Environment::SANDBOX
4));
5
6$client->billingRequestFlows()->create([
7 "params" => [
8 "redirect_uri" => "https://my-company.com/landing",
9 "exit_uri" => "https://my-company.com/exit",
10 "links" => [
11 "billing_request" => "BRQ000010NMDMH2"
12 ]
13 ]
14]);
This returns a new flow, which has an authorisation_url
you should send to your customer:
1{
2 "billing_request_flows": {
3 "authorisation_url": "https://pay.gocardless.com/billing/static/flow?id=<brf_id>",
4 "lock_customer_details": false,
5 "lock_bank_account": false,
6 "auto_fulfil": true,
7 "created_at": "2021-03-30T16:23:10.679Z",
8 "expires_at": "2021-04-06T16:23:10.679Z",
9 "redirect_uri": "https://my-company.com/completed",
10 "links": {
11 "billing_request": "BRQ123"
12 }
13 }
14}
15
Share your authorisation link from the response in Step 02, via a button on your website, SMS, email, or any other way you like.
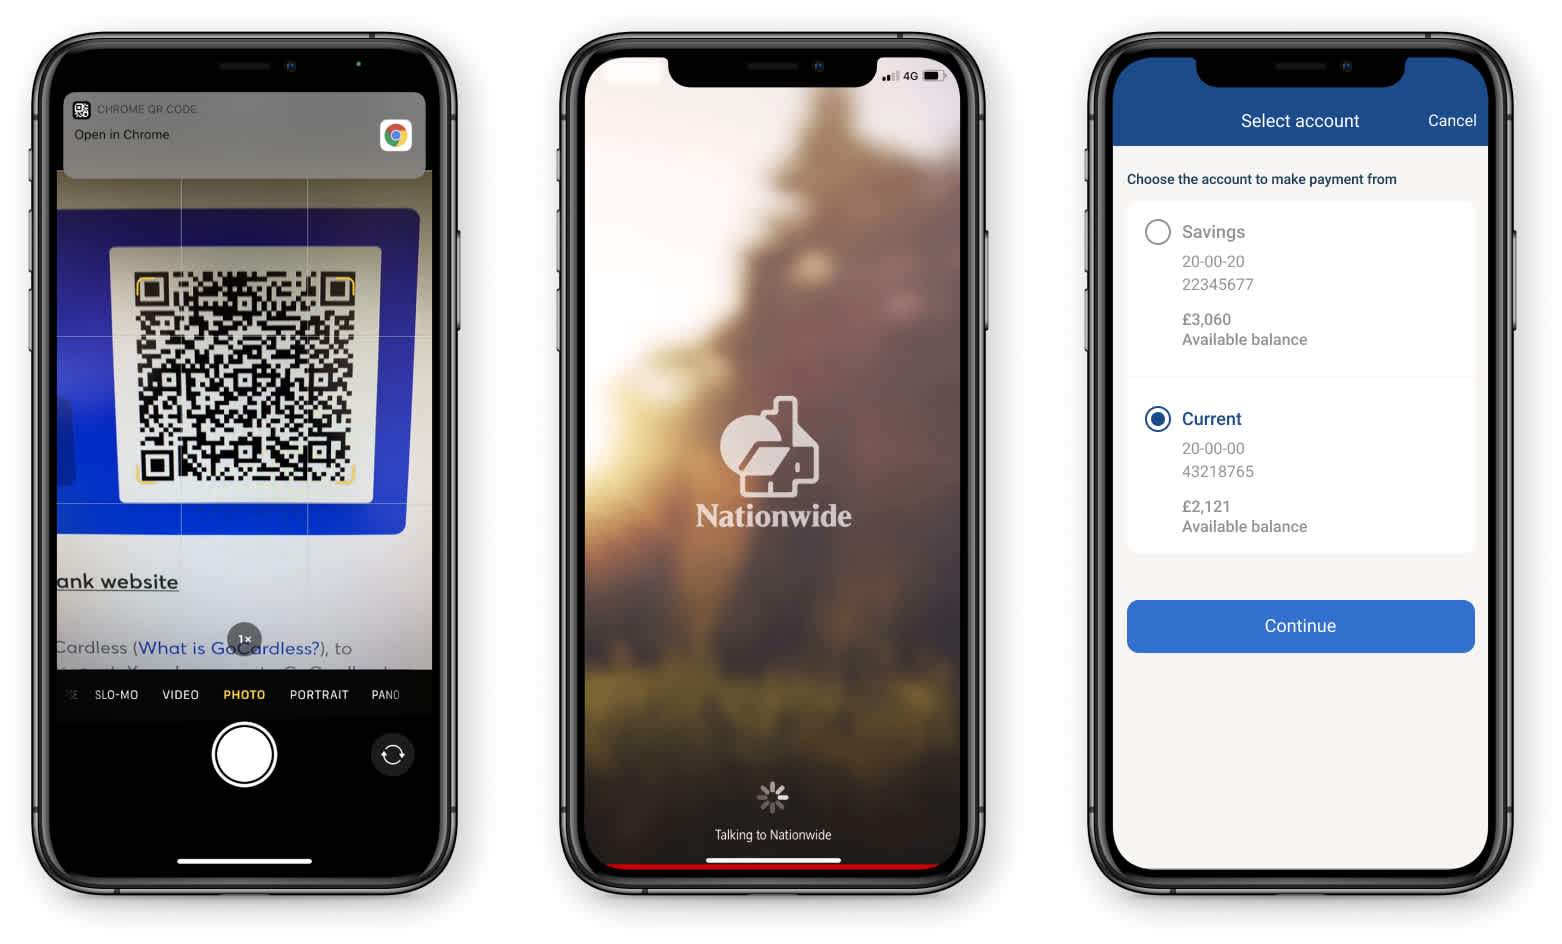
Preview what your customer will see by following the steps below.
Goal - Retain your customers with an Exit URI
Engineering complexity - Easy
Time taken - 5 minutes
Some customers may not be able to authorise the open banking transaction through the Billing Request Flow. This may happen if they are unable to use their mobile, they aren’t set up with online banking or the bank’s open banking API may be down.
To retain these customers and let them pay another way, you may pass an Exit URI which will send them wherever you choose in order to complete the transaction. It’s as simple as providing the address you’d like us to return the customer to.
Provide an Exit URI when creating the Billing Request Flow
You may pass a exit_uri
when creating the Billing Request Flow, the same way you pass the redirect_uri
.
Note: We recommend that you return customers to your checkout page, at the point of choosing a payment method.
1$client = new \GoCardlessPro\Client(array(
2 'access_token' => 'your_access_token_here',
3 'environment' => \GoCardlessPro\Environment::SANDBOX
4));
5
6$client->billingRequestFlows()->create([
7 "params" => [
8 "redirect_uri" => "https://my-company.com/landing",
9 "exit_uri" => "https://my-company.com/exit",
10 "links" => [
11 "billing_request" => "BRQ000010NMDMH2"
12 ]
13 ]
14]);
This returns a new flow which includes the exit_uri being passed:
1{
2 "billing_request_flows": {
3 "authorisation_url": "https://pay.gocardless.com/billing/static/flow?id=<brf_id>",
4 "lock_customer_details": false,
5 "lock_bank_account": false,
6 "auto_fulfil": true,
7 "created_at": "2021-03-30T16:23:10.679Z",
8 "expires_at": "2021-04-06T16:23:10.679Z",
9 "redirect_uri": "https://my-company.com/completed",
10 "links": {
11 "billing_request": "BRQ123"
12 }
13 }
14}
15
Customers will be sent to this URI when they click on the Exit URI in the Billing Request Flow.
Customer uses the Exit URL to return to your checkout
The Exit URI is used in two places:
Instant Bank Pay for British customers
Instant Bank Pay for German customers
Instant Bank Pay in the UK
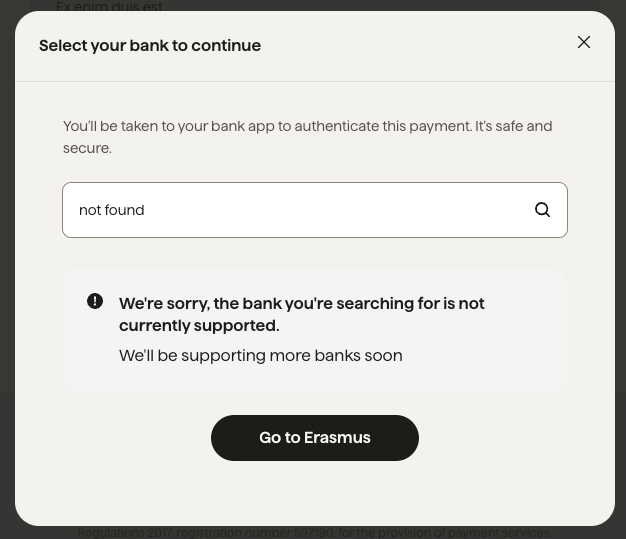
The Exit URL is shown if a customer is unable to find their bank, when searching the institution selector.
Instant Bank Pay in Germany
The Exit URL is shown if a customer provides an IBAN which isn’t supported.
As mentioned before if certain actions are already completed, or can be completed by another required action then we can skip them. The most common cases where a component may be skipped in the flow are as follows:
A Customer already exists- in this case, we do not show the CollectCustomerDetails page however the user may be allowed to edit these details unless the customer has been locked (see locking components below)
A Bank account already exists- in this case, we do not show the CollectBankAccount page however the user may be allowed to create a new bank account and use that for the payment unless the bank account has been locked (see locking components)
Bank authorisation allows the collection of banks- in this case, if there are no existing banks, we will not ask the user to pick the bank account, instead, we use the details returned from the stage to create it
Existing customers or banks can be attached to the Billing Request when it is created, an example of this might be when creating a “top-up” single payment for a customer you already have a relationship with. See API reference
Along with knowing the customer's details and the bank account you may wish to “lock” the request to only allow the customer to use those details. This allows you to ensure the payment is taken using details you have already collected for this customer in your own systems.
You can lock the customer, the bank account or both. This is done when creating the Billing Request Flow by setting lock_customer_details
or lock_bank_account
to true.
If a linked resource is locked the following happens:
Customer locked - The CollectCustomerDetails page is not shown and the customer cannot open them for editing
Bank account locked - The CollectBankAccount page is not shown and the customer cannot add another bank account to use instead
If both are locked then we skip almost every page and go directly to the confirmation page within the BankHandoff component. All the payer needs to do is confirm and possibly authenticate with the bank if it is required.
For mandate only requests, you may also "lock" the currency and scheme that the customer pays in. By default, mandate only requests have the currency/scheme "unlocked" so that the customer can set up their mandate in any of your available schemes. If you lock the currency, however, they will only be able to pay with the scheme you specified when creating the Billing Request. This can be useful if you only want to allow a customer to pay in one specific scheme.
This can be achieved by setting lock_currency
to true on the Billing Request Flow. In this case a currency selector will not show in the payment page UI for the payer, and they will be unable to change currency.
What the customer will see
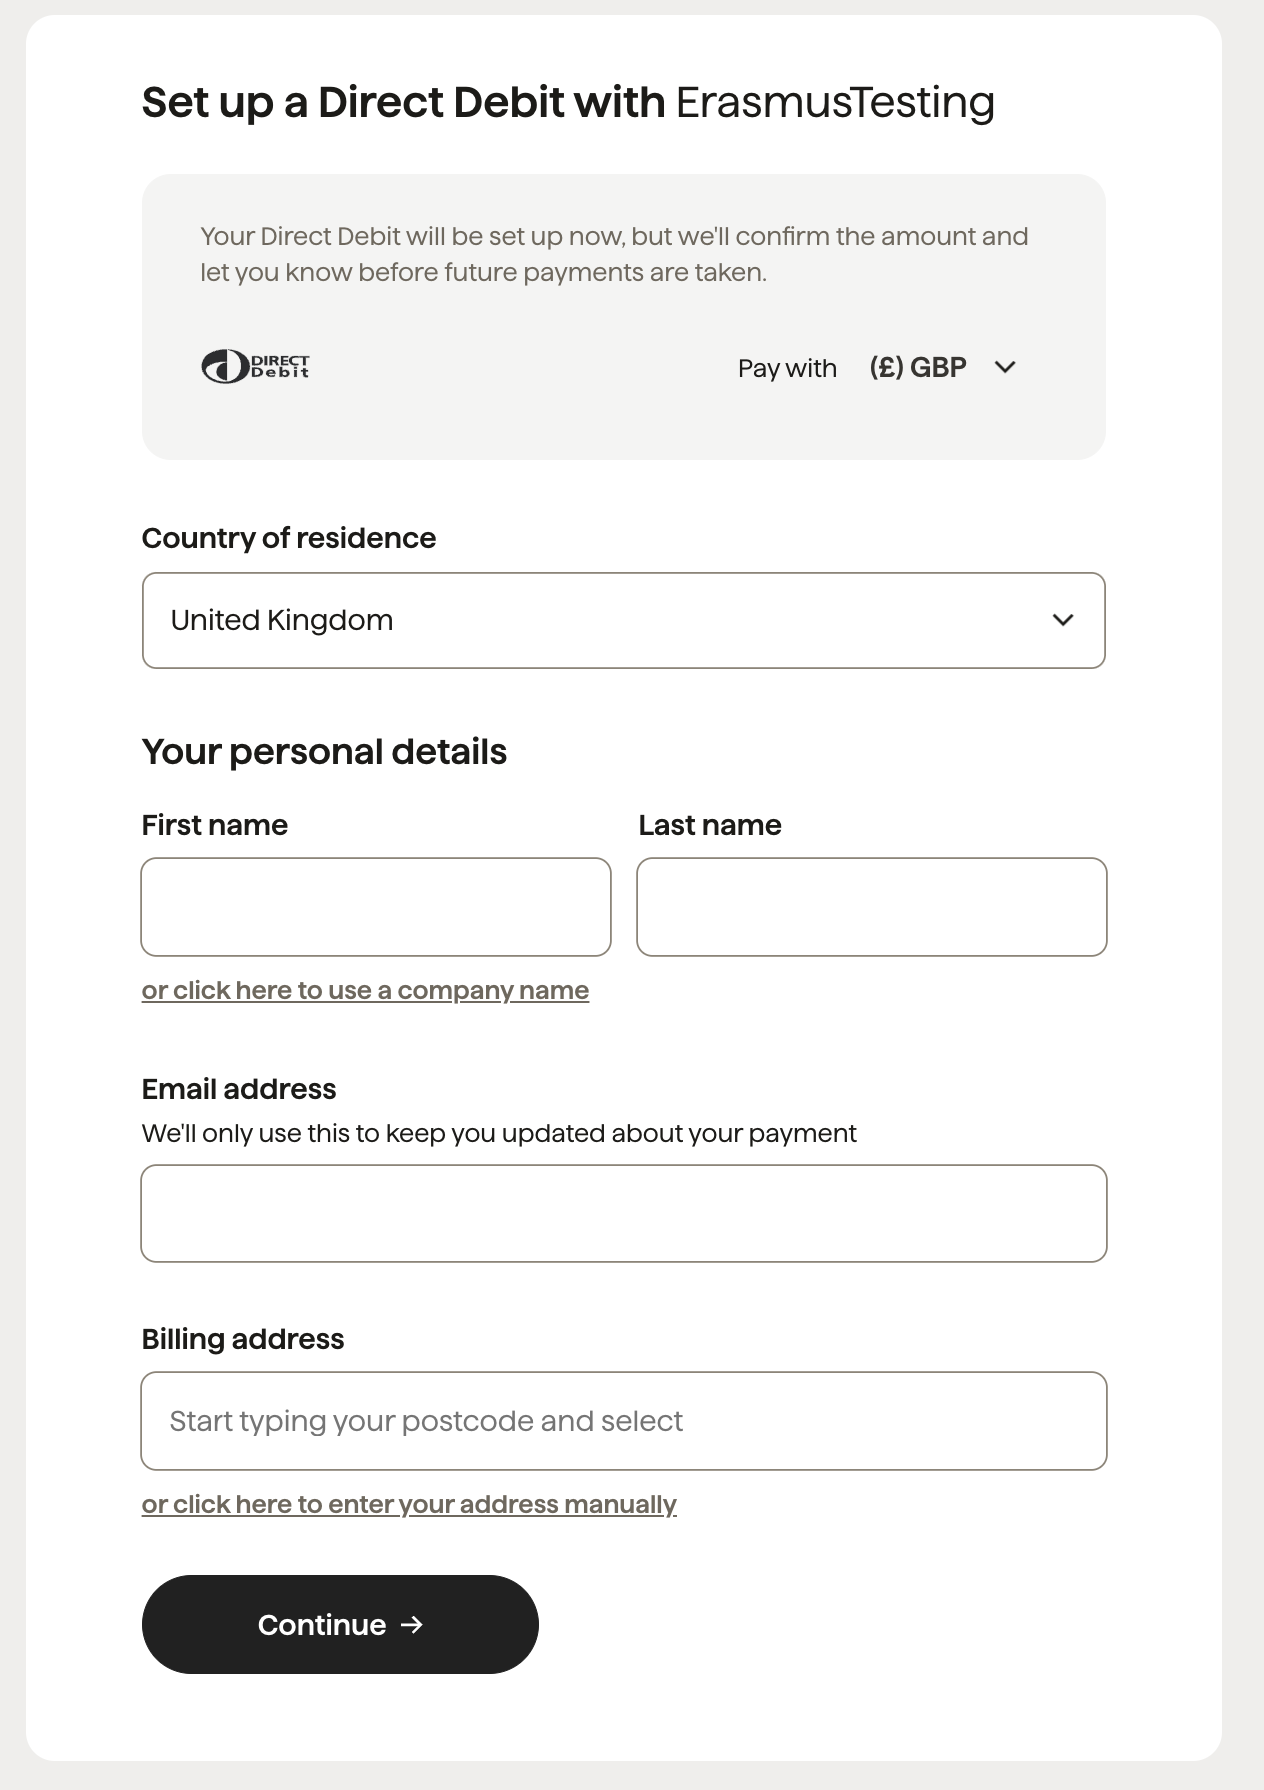
Collect customer details in order to complete the billing request.
Note: this screen is skipped if the details already exist, or the customer details have been locked.
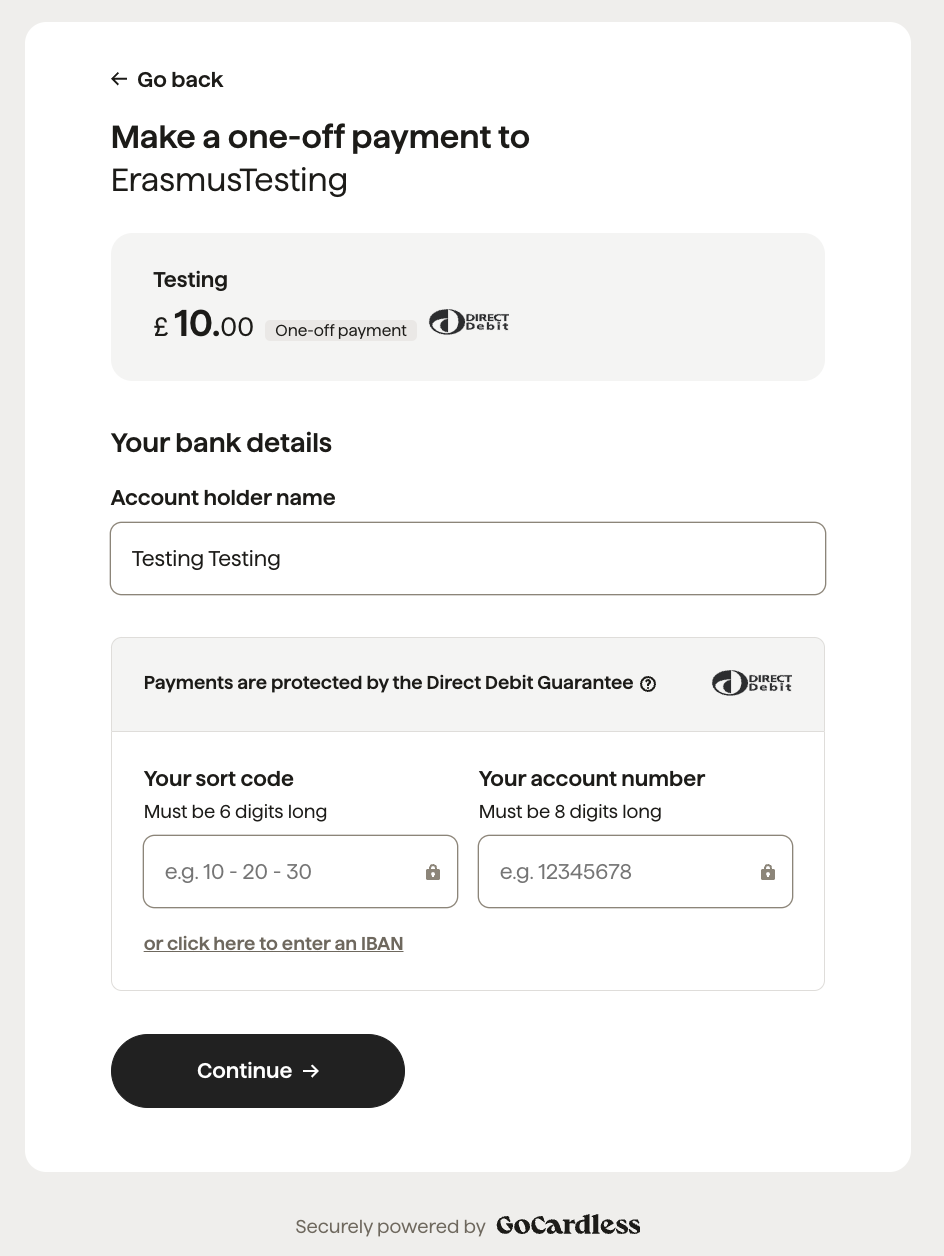
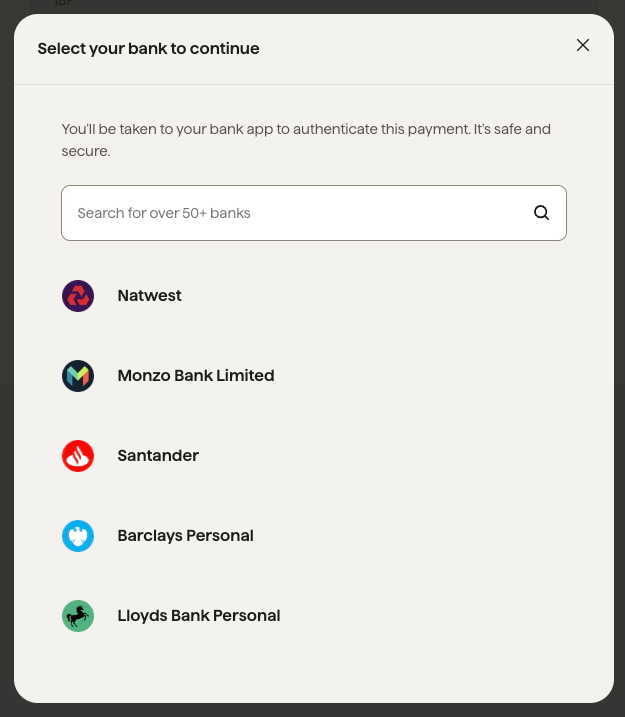
Select the Bank account account in order for GC to take a payment.
Note: this screen is skipped if the details already exist or the bank account is locked.
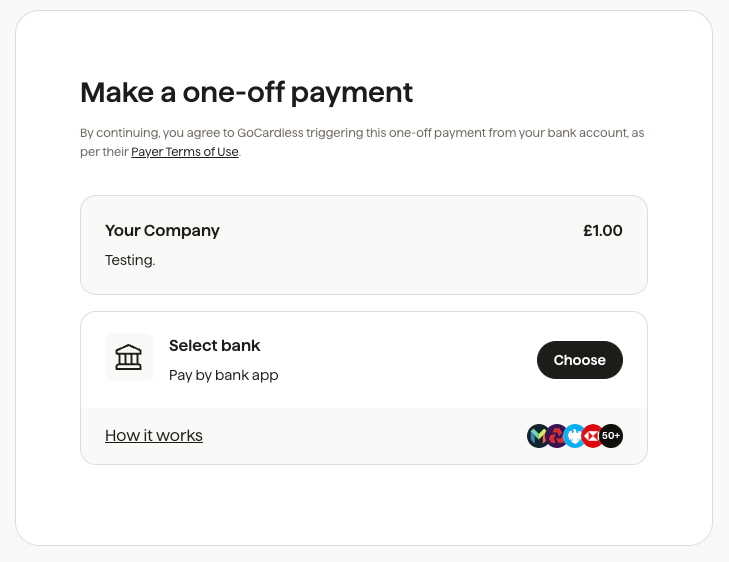
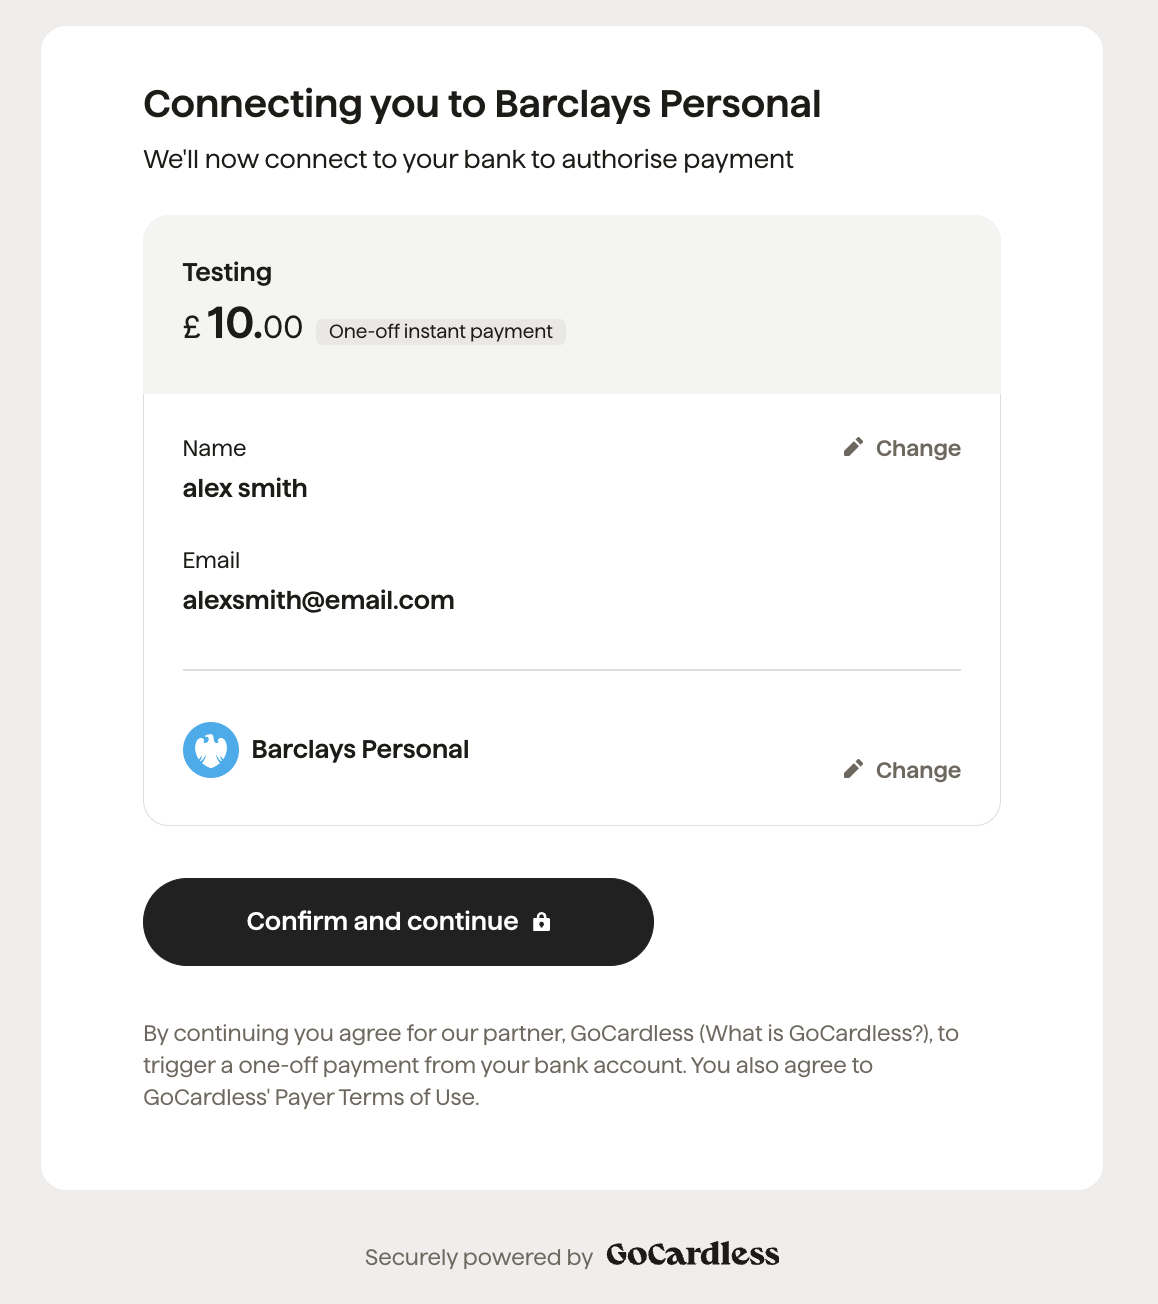
Preview the payment and bank, before authorising anything.
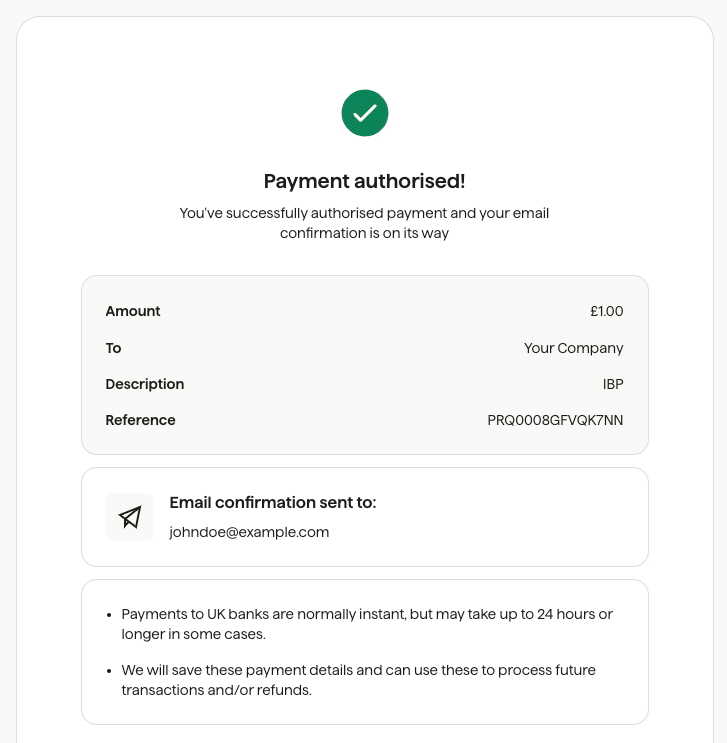
View confirmation that the payment has been successful once the bank authorisation is complete.
Done!
The mandate has now been created and is ready to create payments against. The Billing Request is fulfilled
, and cannot be modified.
What’s next?
First instant payment with mandate Direct Debit set up
Get started
For partners
Go to Partner PortalTo learn more about technical and UX requirements